
To calibrate your home theater, start by understanding your equipment and its settings, including display, audio, and source devices. Use test patterns and calibration tools to adjust picture quality—brightness, contrast, color—and balance your audio levels for clear sound. Fine-tune settings for different content and room conditions to get the best experience. Regular maintenance guarantees ongoing performance. Exploring these fundamentals will help you optimize your system and enjoy superior movies and music.
Key Takeaways
- Understand and optimize your display, audio, and source devices for best picture and sound quality.
- Use test patterns and calibration tools to fine-tune brightness, contrast, color, and sharpness.
- Adjust speaker levels and sound settings for balanced, immersive audio using calibration microphones or meters.
- Regularly update calibration based on room lighting and equipment changes to maintain optimal performance.
- Document and revisit calibration settings every 6 to 12 months for consistent home theater experience.

Crystals and Healing Stones Premium Kit Velvet Pouch - 7 Chakra Stones Healing Crystals Set, Ebook, Gift (Tiny 7 Chakra Stones)
Natural Crystal and Healing Stones Kit – The Essential Healing Crystal Sets Gemstones is the best value for...
As an affiliate, we earn on qualifying purchases.
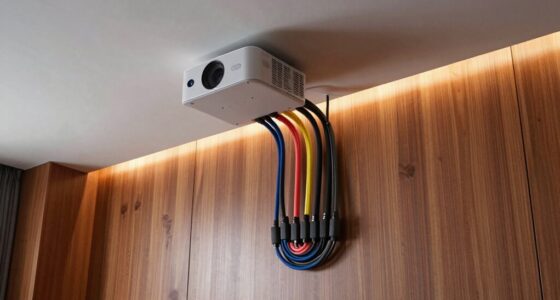
Understanding Your Equipment and Its Settings
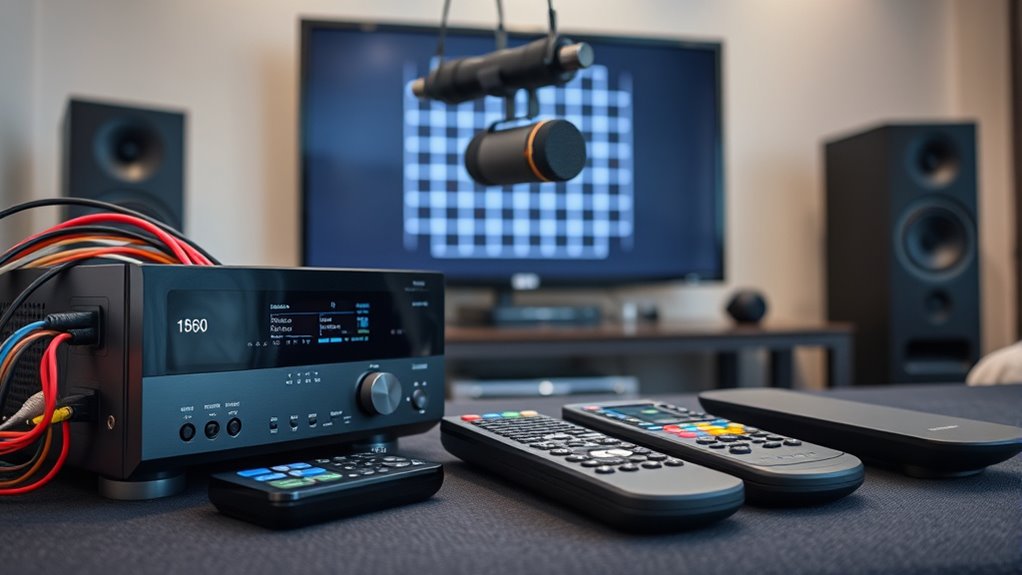
Before you begin calibrating your home theater, it’s essential to understand your equipment and its settings. Start by familiarizing yourself with your display, audio receiver, speakers, and source devices. Read the manuals to understand the available calibration options, such as picture modes, audio settings, and any built-in calibration tools. Note the specifications, like resolution, refresh rate, and color profiles, so you know the capabilities and limitations of each component. Check for firmware updates that might improve performance or add features. Understanding how your equipment works together helps you make informed adjustments during calibration. Additionally, understanding color accuracy and how it affects your display can significantly enhance your viewing experience. Keep a list of your device settings and any changes you make, so you can easily revert if needed. This foundational knowledge ensures a smoother calibration process and better overall performance. Familiarity with audio calibration settings can also help optimize sound quality for your space and preferences. Moreover, being aware of the power output capabilities of your equipment can assist in balancing audio levels and preventing distortion. Gaining insights into component compatibility can further streamline your setup and calibration process. Being aware of the calibration tools available on your devices can also facilitate a more precise setup.

22Pcs Healing Crystals Set, Chakra Quartz Kits in Wooden Box (7 Raw and 7 Tumbled Chakra Stones, Lava Bracelet, Chakra Necklace and Amethyst Pendulum, Thumb Worry Stone, Selenite Charging Plate, etc.)
Crystals and Stones Set Includes: 7 Tumbled Chakra Stones, 7 Raw Chakra Stones, 1 Chakra Lava Bracelet, 1...
As an affiliate, we earn on qualifying purchases.
Calibrating Your Display for Optimal Picture Quality
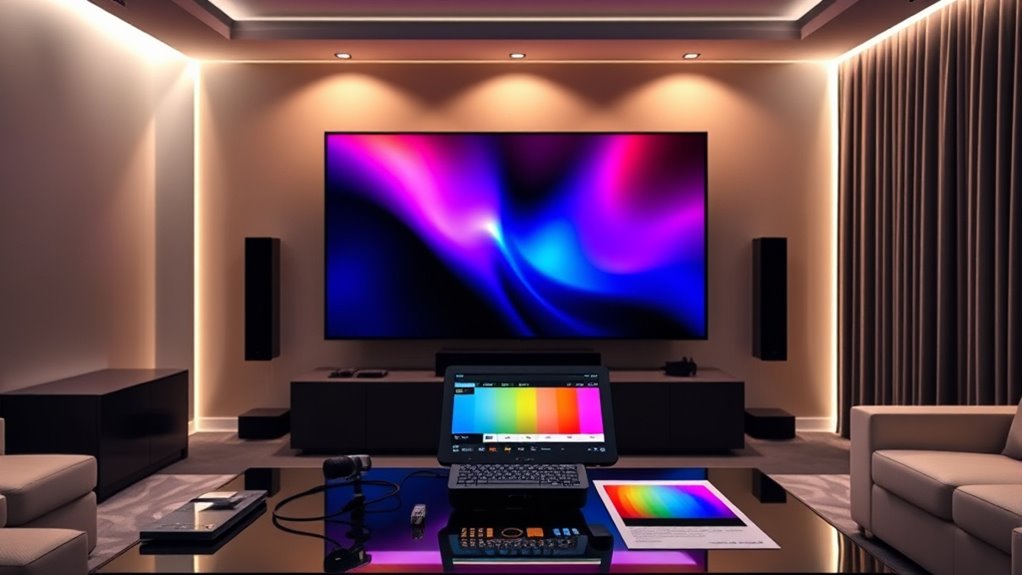
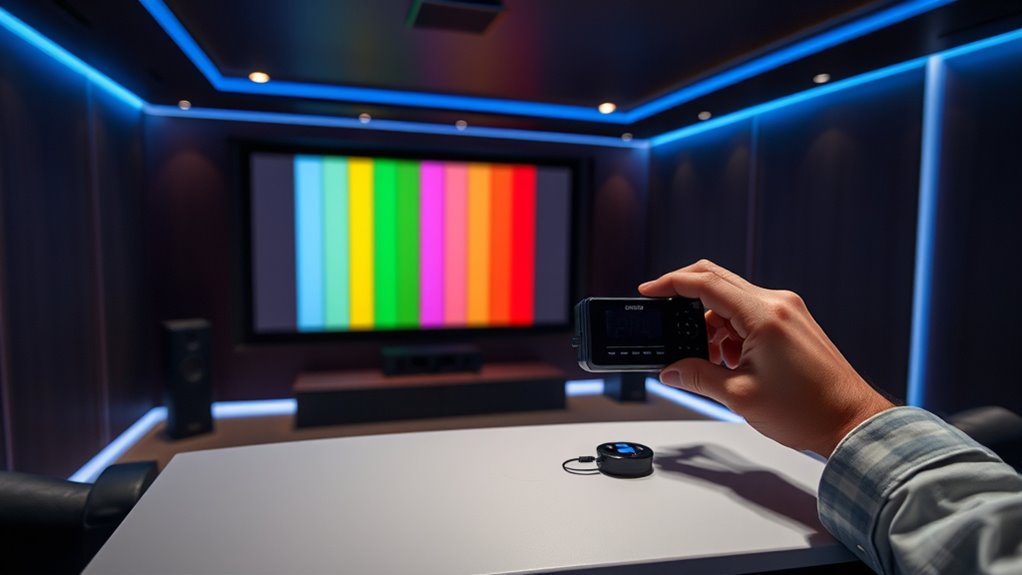
Once you’re familiar with your equipment and its settings, you can focus on optimizing your display for the best picture quality. Start by adjusting brightness, contrast, color, and sharpness to match your environment. Use calibration tools like test patterns or calibration discs to fine-tune these settings. To help visualize the process, consider this table:
| Setting | Adjustment Goal | Common Indicator |
|---|---|---|
| Brightness | Details in dark scenes | Black areas are deep, not gray |
| Contrast | Whites are bright but not blown out | Bright whites without loss of detail |
| Color | Accurate, natural hues | Skin tones look realistic |
| Sharpness | Clear edges without halos | No artificial outlines |
This approach guarantees your display provides vibrant, accurate images for an immersive viewing experience. Additionally, understanding Free Floating principles can help you set up your space to minimize glare and reflections, further enhancing picture quality. Proper calibration also involves considering your viewing environment to avoid ambient light interference that can distort your perception of image quality. Recognizing the impact of room lighting can help you make more effective adjustments for optimal viewing conditions. Incorporating calibration tools can further refine your setup and ensure consistent image quality over time. Being aware of screen calibration techniques enables you to maintain image accuracy as your environment or equipment changes.

Healing Crystals for Beginners – 7 Chakra Stones and Crystals Healing Collection -Including Amethyst, Rose Quartz, Lapis Lazuli, etc.with Guide Book, Natural Raw Crystals for Meditation
HEALING CRYSTALS:Hand-selected exquisite crystal Amethyst, rose quartz, transparent quartz, yellow crystal, red jasper, Tianhe stone, lapis lazuli (1.2...
As an affiliate, we earn on qualifying purchases.
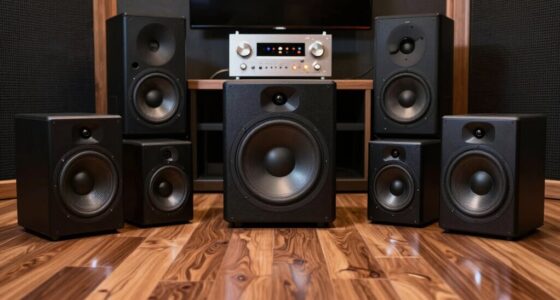
Adjusting Audio Settings for Clear and Balanced Sound
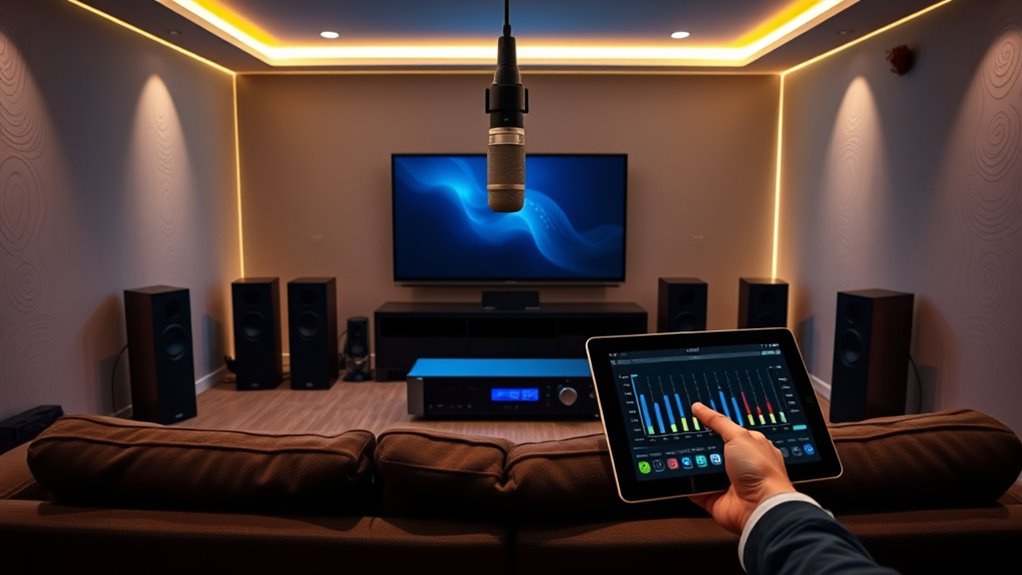
Achieving clear and balanced sound in your home theater starts with understanding your audio system’s settings and making precise adjustments. Begin by setting your receiver’s speaker levels, ensuring each speaker is producing the same volume. Use the built-in calibration mic or a sound level meter for accuracy. Adjust the equalizer settings to enhance clarity without causing distortion. Focus on balancing bass, midrange, and treble to match your room’s acoustics. Turn off any sound enhancements or virtual surround modes that may color the audio. Test with familiar content, like dialogue-heavy scenes or music, and fine-tune until voices sound natural and the overall soundscape feels immersive. Regularly revisit these settings as your room or equipment changes to maintain ideal audio quality. Additionally, consulting the specifications of your connection standards can help optimize input and output configurations for the best sound performance. Proper room acoustics treatment can further improve clarity by reducing unwanted echoes and sound reflections. Incorporating speaker placement techniques can also significantly enhance overall sound quality and balance. For best results, consider using test tones or dedicated calibration software to ensure even sound distribution across all channels. Remember that audio calibration tools and methods are essential for achieving the most accurate and immersive listening experience.

Crystals and Healing Stones, 9 Pcs Healing Crystals Set, 7 Chakra Crystal Stones Set Real Natural Selenite Pyramid Reiki Raw Rock Energy Protection Meditation with Wooden Box, Crystal Gifts for Women
[NATURAL CHAKRA CRYSTALS AND HEALING STONES] Elevate your spiritual practice with our most comprehensive collection. This 9pcs-piece sanctuary...
As an affiliate, we earn on qualifying purchases.
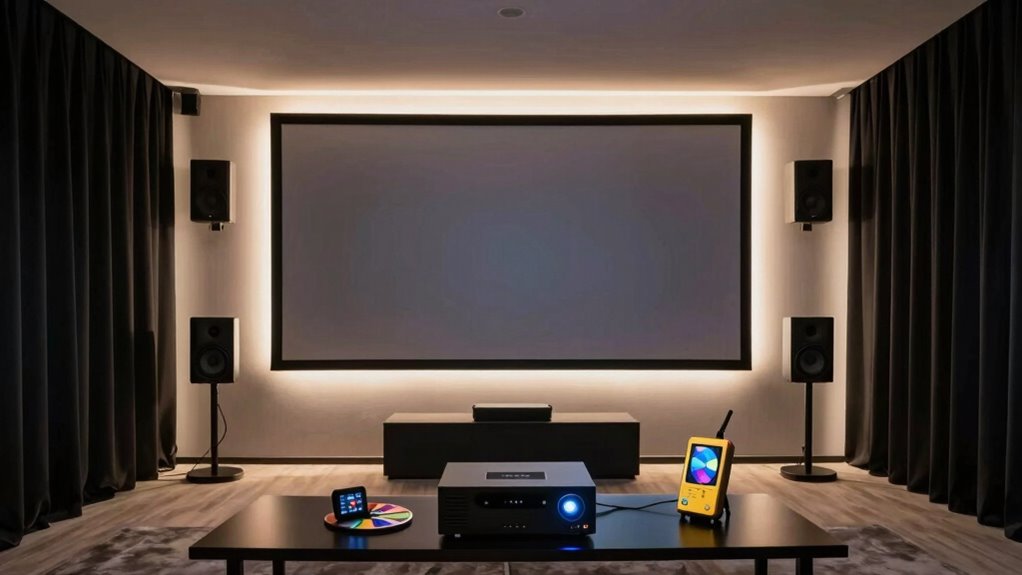
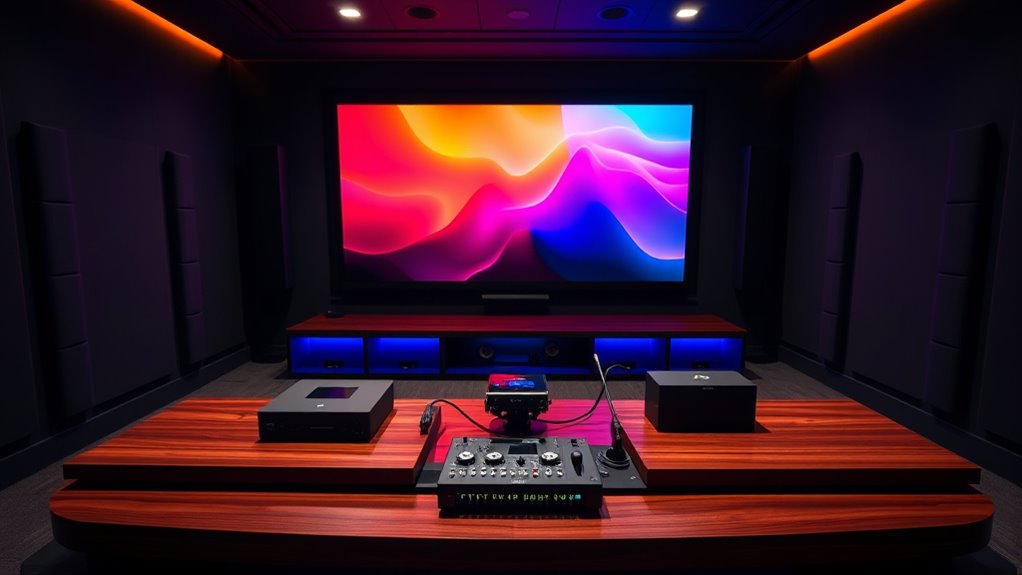
Using Test Patterns and Calibration Tools Effectively

Choosing the right test patterns guarantees you accurately evaluate your display’s calibration. You should also learn how to use calibration tools effectively to adjust picture settings precisely. Mastering these techniques helps you achieve the best possible image quality in your home theater. Incorporating joy and connection into your calibration process can make the experience more engaging and satisfying. Remember that understanding your display’s capabilities allows for better adjustments and a more immersive viewing experience. Using proper calibration procedures ensures consistent results and preserves your display’s longevity.
Selecting Appropriate Test Patterns
Selecting the right test patterns is essential for effective calibration because they provide the precise reference points needed to fine-tune your home theater setup. To choose wisely, consider these key points:
- Use color accuracy patterns to set correct color balance and saturation.
- Select contrast and grayscale patterns to optimize brightness and black levels.
- Pick sharpness and resolution test patterns to ensure image clarity without artifacts.
- Incorporate motion and noise patterns to evaluate motion handling and picture stability.
- Additionally, understanding how smart home technology can assist in automated calibration or routine maintenance can help maintain optimal performance over time. Utilizing calibration tools that integrate with your smart system can streamline the process and ensure consistent results. Being familiar with calibration standards can further improve your setup accuracy and consistency. Regularly updating your calibration settings based on ambient lighting conditions can also help preserve picture quality and viewing experience, especially when combined with automatic adjustment features that many modern displays offer.
Utilizing Calibration Tools Effectively
Once you’ve identified the right test patterns, the next step is to use calibration tools effectively to fine-tune your home theater. Focus on patience and precision, adjusting settings gradually while monitoring results. Use a colorimeter or calibration disc to measure picture quality and sound levels. Keep a systematic approach: change one setting at a time, then observe the impact. To help, here’s a quick guide:
| Step | Action | Focus Area |
|---|---|---|
| 1 | Display test pattern | Brightness & Contrast |
| 2 | Adjust sliders | Color & Sharpness |
| 3 | Listen & refine | Audio levels & balance |
This organized method guarantees the best results and a balanced viewing experience. Regularly adjusting calibration settings helps maintain picture and sound quality over time.
Fine-Tuning for Different Content Types and Environments
Adjusting your home theater settings for different content types and environments is essential to get the best audio and video experience. Each type of content, like movies, sports, or music, benefits from specific adjustments. For example, movies might need enhanced dialogue clarity and balanced surround sound, while music may require a more vibrant stereo setup. Environmental factors, like room size or acoustics, also influence settings. To optimize your setup, consider these tips:
Customize your home theater settings for optimal audio and video based on content type and room environment.
- Increase bass for action-packed movies to add depth.
- Adjust equalizer settings for clearer dialogue during dramas.
- Tweak surround sound levels for immersive gaming or movies.
- Use room correction features to compensate for acoustic anomalies.
Maintaining Your Calibration Over Time
To keep your home theater performing at its best, regular maintenance of your calibration settings is essential. Over time, factors like bulb aging, room lighting changes, and equipment updates can affect picture and sound quality. To maintain ideal performance, revisit your calibration every six to twelve months. Use your calibration tools or test patterns to check if colors, contrast, and sound levels remain accurate. Adjust settings as needed, especially if you notice duller images or less precise audio. Keep your equipment clean and ensure your room environment stays consistent. Regular checks help catch drifting settings early, preserving the quality you’ve worked hard to achieve. Staying proactive ensures your home theater remains a stunning, immersive experience for years to come.
Frequently Asked Questions
How Often Should I Recalibrate My Home Theater System?
You should recalibrate your home theater system every 6 to 12 months to guarantee peak performance. Changes in room setup, new equipment, or even seasonal variations can affect sound and picture quality. Regular calibration helps maintain accurate audio and visuals, giving you the best experience. If you notice issues like distorted sound or dull images, it’s a good sign you need to recalibrate sooner rather than later.
Can I Calibrate My System Without Professional Tools?
You can give it a shot without professional tools, but keep in mind that it’s like trying to paint a masterpiece with a basic brush—possible, but not perfect. Use your ears and eyes as guides; adjust your TV’s picture settings and sound levels based on your preferences. There are plenty of free online guides and smartphone apps that can help you improve your calibration, making your viewing experience more enjoyable.
What Are Common Signs of Poor Calibration?
You notice that your picture looks dull or overly bright, with colors that seem off or skin tones that don’t look natural. Audio might feel unbalanced, with dialogue hard to hear or sound effects overpowering. You may also see flickering images or inconsistent contrast. These signs indicate poor calibration, which can be fixed by adjusting your display settings or seeking professional help to optimize picture and sound quality.
Does Room Acoustics Affect Calibration Results?
Absolutely, room acoustics can sabotage your calibration efforts like a mischievous gremlin. Think of your room as the uninvited guest at a party—its layout, surfaces, and furnishings all influence sound quality. Poor acoustics can make your perfectly calibrated system sound off, with echoes or dead spots. So, if your setup sounds weird, blame the room, not your equipment. Adjusting acoustics is just as vital as fine-tuning your speakers.
Are There Smartphone Apps That Assist in Calibration?
Yes, there are smartphone apps that can assist in calibration. You can use apps like SPL Meter, AudioTool, or Room EQ Wizard to measure sound levels and analyze acoustics. These apps often work with your phone’s microphone or an external one. While they’re helpful, keep in mind they might not be as precise as professional tools. Still, they’re a great starting point for improving your home theater sound.
Conclusion
Think of your home theater as a musical instrument—you’re the tuner, shaping every note and tone. By understanding your equipment, fine-tuning the picture and sound, and using calibration tools, you create a harmony that immerses you in every scene. Like a skilled musician, regularly check and adjust your setup to keep the symphony perfect. With patience and care, your home theater becomes a masterpiece, ready to deliver flawless entertainment whenever you press play.