To prevent random errors, regularly maintain your robot vacuum by checking its placement, ensuring it’s on a flat, obstacle-free surface away from high-traffic areas. Clean brushes, sensors, and the intake pathway frequently to keep them debris-free and functioning efficiently. Empty the dustbin before it overfills and verify no blockages exist. Consistently performing these simple steps will keep your vacuum operating smoothly—exploring further tips can help you extend its lifespan even more.
Key Takeaways
- Place the charging station in a central, clutter-free, flat area away from obstacles and high-traffic zones.
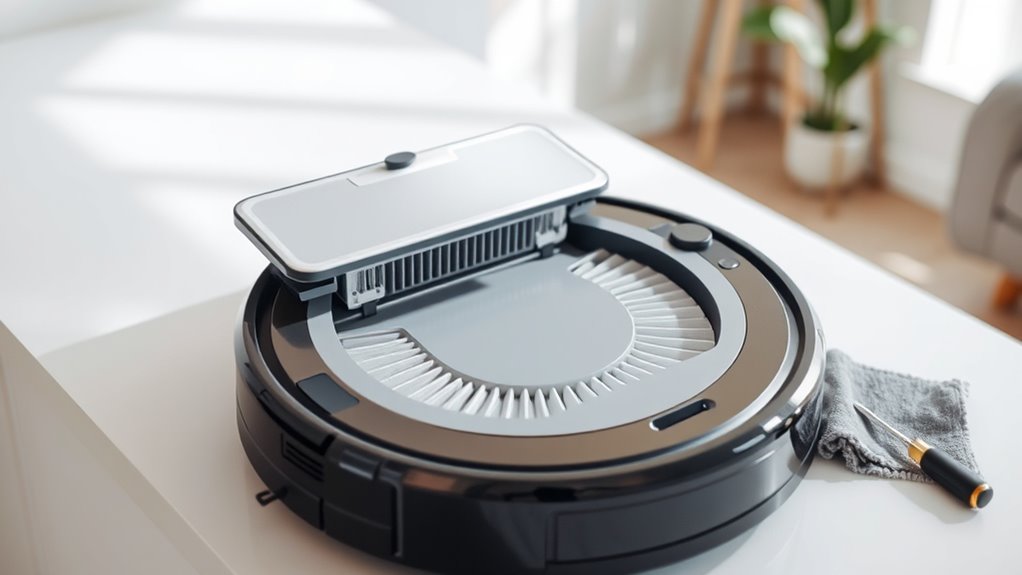
- Regularly clean brushes and replace worn ones to maintain suction and agitation efficiency.
- Keep sensors dust-free with soft, damp cloths to improve obstacle detection.
- Empty the dustbin frequently and check for clogs in the intake pathway to prevent errors.
- Perform routine maintenance combining station placement, brush cleaning, and sensor upkeep for optimal performance.
Ever wondered how to keep your robot vacuum running smoothly? It all starts with a simple routine that prevents those frustrating ‘random’ errors. Two key aspects often overlooked are the placement of your charging station and regular brush cleaning tips. Proper charging station placement guarantees your vacuum always has a reliable spot to dock, recharge, and ready itself for the next cleaning session. Place it in a central location that’s easily accessible and free from clutter. Avoid spots near stairs or high-traffic areas that could cause the robot to bump into obstacles or get stuck. Keeping the station on a flat, stable surface makes docking effortless, which means your vacuum is more likely to recharge fully and avoid power issues that can lead to incomplete cleaning cycles or error messages. Additionally, understanding filtration basics can help you maintain cleaner air and prevent debris buildup that might affect your vacuum’s performance.
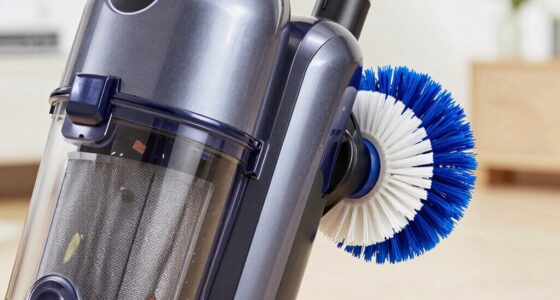
Alongside station placement, maintaining your vacuum’s brushes is essential. Brush cleaning tips are simple but effective: regularly remove hair, string, and debris wrapped around the brushes. This prevents tangling, which can impair the vacuum’s ability to pick up dirt efficiently and cause motor strain. Use a small brush or a pair of scissors to carefully cut away any buildup. Also, check the brushes for signs of wear or damage. If they’re worn out or misshapen, replace them promptly to keep suction and agitation at peak performance. Keeping the brushes clean and in good shape prevents motor strain and reduces the chances of errors caused by mechanical failure.
You should also keep the vacuum’s sensors clean, as dust or smudges on sensors can confuse the robot, leading to navigation errors. Use a soft, slightly damp cloth to wipe sensors gently. This helps your robot better detect obstacles and boundaries, reducing chances of it getting stuck or missing spots. Additionally, regularly empty the dustbin and check for clogs in the intake pathway. A full bin or blocked passage forces the vacuum to work harder, increasing wear and tear and risking errors during operation.

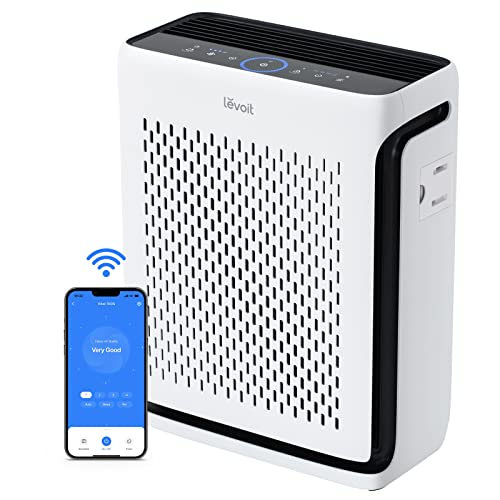
Air Purifiers for Home with High Efficiency Filter Up to 1076 Ft² for Pet Hair, Odors, Pollen, Smoke, Compact Air Cleaner with 3 Speeds, Timer, Aroma Quiet 360°Intake Filter, White
Effortless Operation: Simplified control panel with intuitive design makes it easy to operate. No complicated setup—just one tap,...
As an affiliate, we earn on qualifying purchases.
Frequently Asked Questions
How Often Should I Replace the Robot Vacuum’s Filters?
You should replace your robot vacuum’s filters every 2 to 3 months, depending on your cleaning frequency and environment. Regular filter replacement guarantees peak suction and prevents dust buildup. If you vacuum daily or have pets, consider replacing filters closer to every 2 months. Additionally, clean filters regularly between replacements to extend their lifespan and maintain your vacuum’s performance.
Can I Use Any Cleaning Solution on the Robot’s Brushes?
You shouldn’t use any cleaning solution on your robot’s brushes because it can cause damage or buildup. For proper brush maintenance, stick to mild soap and water or manufacturer-recommended cleaners. Avoid harsh chemicals, which could impair the brushes’ function or harm the vacuum’s components. Regularly cleaning your brushes ensures peak performance and prevents errors, keeping your robot running smoothly and efficiently.
What Signs Indicate My Robot Vacuum Needs Professional Repair?
If your robot vacuum shows sensor alerts or makes unusual noises, it likely requires professional repair. These signs indicate potential hardware issues, like sensor malfunctions or motor problems. You should also notice persistent error messages or if the vacuum stops unexpectedly. Don’t ignore these cues; schedule a repair promptly to prevent further damage and ensure your device functions smoothly again.
How Do I Reset My Robot Vacuum After Maintenance?
To reset your robot vacuum after maintenance, start by locating the reset button or software reset option on the device or app. Press and hold the reset button for about 10 seconds, or select the software reset option in the app’s settings. This button restart clears temporary glitches and helps your vacuum recalibrate. Once reset, turn it off and on again, then run a quick test to ensure everything works smoothly.
Is It Safe to Leave My Robot Vacuum Charging Overnight?
It’s generally safe to leave your robot vacuum charging overnight, but it’s a case of playing with fire if you’re not careful. Charging safety has improved, and most models have auto shut-off features, but always check your manufacturer’s instructions. Overnight charging can be convenient, yet it’s wise to avoid leaving it plugged in longer than necessary. Keep an eye on it, and you’ll prevent potential hazards while ensuring your vacuum is ready to go.
LEVOIT Air Purifier for Home Large Room Up to 1073Ft² with Air Quality Monitor, AHAM VERIFIDE, Smart WiFi, Washable Pre-Filter, HEPA Sleep Mode for Pets, Allergies, Dust, Pollen, Vital 100S-P, White
𝐖𝐇𝐘 𝐂𝐇𝐎𝐎𝐒𝐄 𝐀𝐇𝐀𝐌 𝐕𝐄𝐑𝐈𝐅𝐈𝐃𝐄 𝐀𝐈𝐑 𝐏𝐔𝐑𝐈𝐅𝐈𝐄𝐑𝐒: AHAM (Association of Home Appliance Manufacturers) is an ANSI-accredited organization that sets...
As an affiliate, we earn on qualifying purchases.
Conclusion
By sticking to this simple maintenance routine, you’ll keep your robot vacuum running smoothly, just like a well-oiled machine of yore. Regularly cleaning the brushes, emptying the bin, and checking the sensors prevent those pesky ‘random’ errors and prolong your device’s life. Think of it as your trusty steed’s daily grooming—necessary and worth the effort. Stay diligent, and your robot will serve you faithfully, making messes vanish faster than you can say “by Jove!”

DREO Smart Evaporative Humidifier Large Room up to 1000ft², 800ml/h High Output Air Humidifiers for Bedroom, 10L, 50H Long Runtime with Precise Humidification for Plants, Home, Office, White, HHM774S
𝙒𝙝𝙤𝙡𝙚-𝙃𝙤𝙪𝙨𝙚 𝙃𝙪𝙢𝙞𝙙𝙞𝙛𝙞𝙘𝙖𝙩𝙞𝙤𝙣: Delivers up to 800ml/h of ultra-fine vapor (as small as 0.0004μm). This large room humidifier can...
As an affiliate, we earn on qualifying purchases.
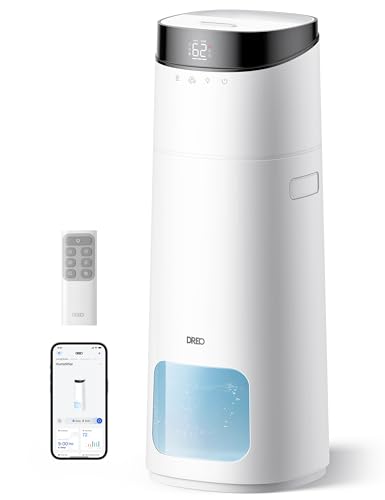
DREO 16L Smart Humidifier Large Room 1000 ft², 130H Cool Mist Air Humidifiers for Bedroom Plants Baby, Top Fill, Remote/Touch/Voice & APP Control, Clean Tank Technology, 30dB, RGB Light, HM755S White
130 𝙃𝙤𝙪𝙧𝙨 𝙐𝙡𝙩𝙧𝙖-𝙇𝙤𝙣𝙜 𝙍𝙪𝙣𝙩𝙞𝙢𝙚: The 16L DREO humidifiers for bedroom provides up to 130 hours of continuous humidification...
As an affiliate, we earn on qualifying purchases.